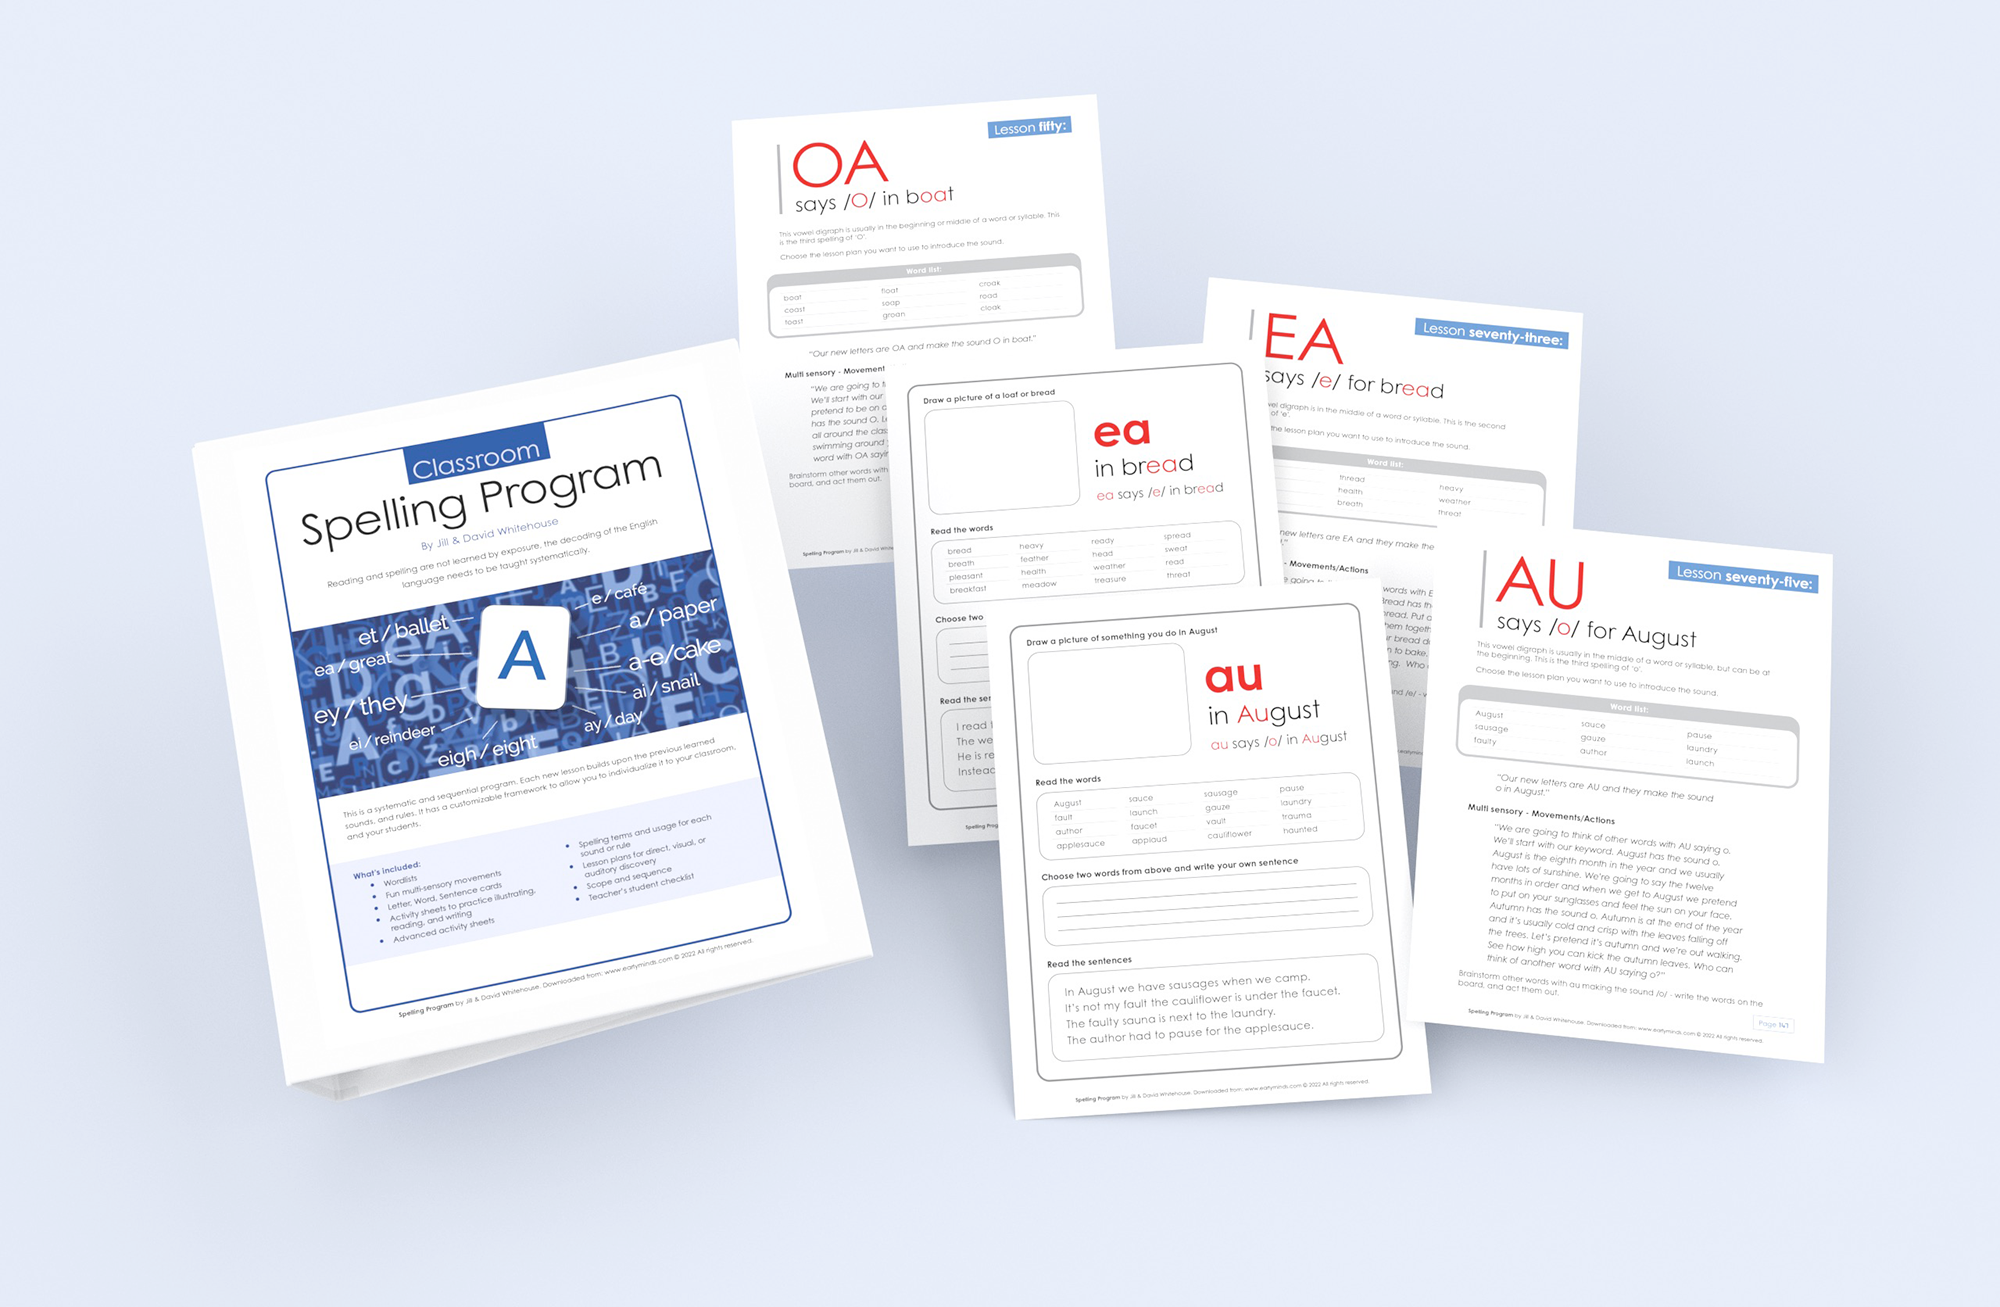
The way your child holds their pencil when they are printing, colouring, and drawing is very important. If your child has an incorrect pencil grip it prevents full rotation and their hand will get tired as they increase the amount of drawing and writing they do. This can cause challenges when they are writing at school as they can become fatigued and discouraged. There are many products to help correct an incorrect pencil grip (sometimes called pincer grasp) for children, and we see them being used in many primary classrooms. It would be much better to start off in the right direction at the very beginning.
Sometimes we put a pencil into a child’s hand when they are too young. They need to develop their muscles with other activities before they’re ready for the thinner pencil and grip needed for accuracy when they are printing. Start with a paint brush and large crayons and large pieces of paper allowing for large movements.

It is not only through holding paintbrushes, crayons, and pencils that children develop their pencil grip. There are many fine motor exercises in our book Teaching Parents How To Teach encouraging children to spoon, pour, and transfer objects. There are videos on our website to guide you through these activities. Allow your child to develop their muscular control before you direct them to printing activities holding a pencil. They will develop their pencil grip over time.
Your child will naturally move through the five stages of pencil grip development if they are given the opportunity to explore and develop their skills with practise. This doesn’t happen by giving your young child a pencil and hoping they work it out. Lego, building blocks, threading, sorting, painting, cutting, and creating are all opportunities for your child to develop the dexterity to hold a pencil with a correct pencil grip.
There are five stages of pencil grip development
Stage one is called the palmer-supinate grasp. They hold with their whole hand with the thumb and index finger at the top of the crayon or paint brush away from the paper. They use their whole arm to make a mark on the paper.
Stage two is called the digital pronate grasp. They hold with their whole hand with the thumb and index finger grasping where the crayon or paintbrush is touching the paper. They use their whole arm to make a mark on the paper.
Stage three is called four finger and thumb grip. They hold the pencil between the thumb and their four fingers. The pencil or crayon is in an upright, vertical position. They use their elbow and wrist to direct the pencil.
Stage four is called static quadruped or tripod grip. They hold the pencil with a correct pencil grip but also have their middle finger on the pencil. They use their wrist and large finger movements to print and draw.
Stage five is called mature/dynamic tripod grip. They hold the pencil with a pincer grasp between their thumb and index finger with the pencil resting on their middle finger. The other fingers are curled inwards toward their hand. This position give a full range of movement for writing and drawing.
These stages develop naturally as your child gets older and gains more control of their body. By introducing more activities you are supporting your child’s growth without forcing them to do things before their body is ready or capable.

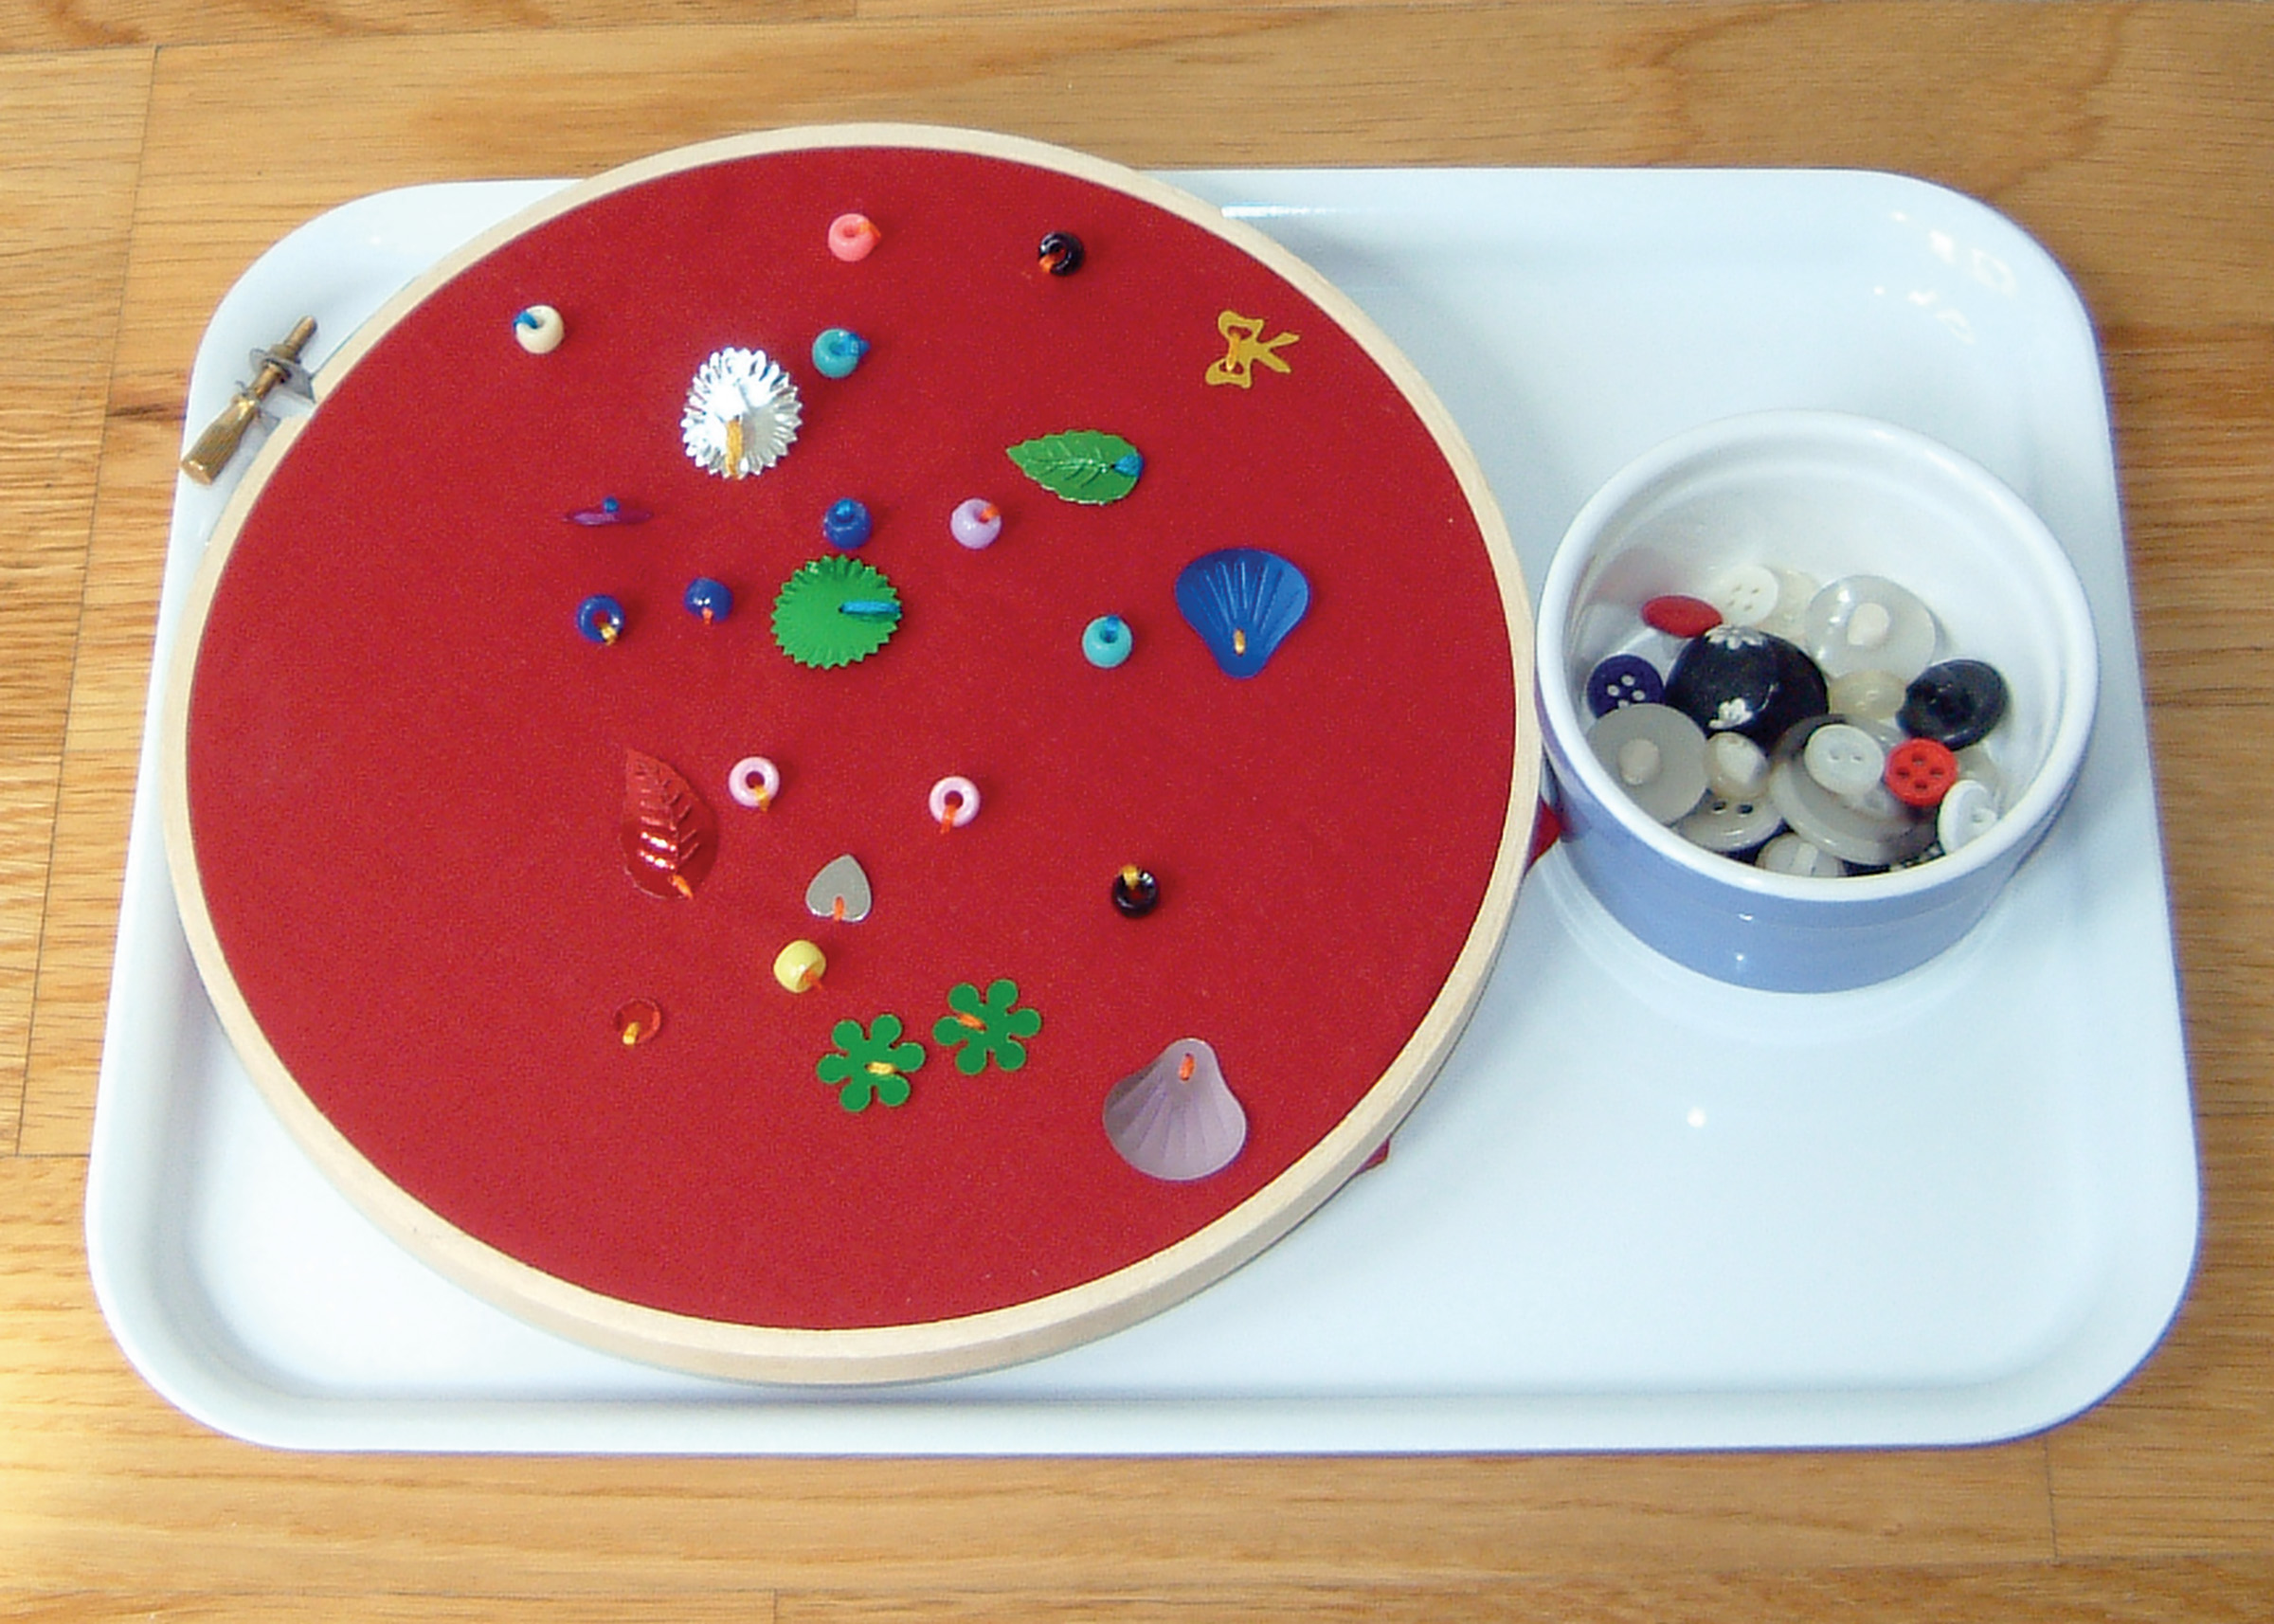
Sewing is an excellent activity for your child to develop their pencil grip and hand eye coordination. Buy an embroidery hoop to hold the piece of fabric in place. Buy some darning needles (they have a less sharp point than usual needles), some brightly coloured felt fabric squares, and some different coloured embroidery thread. Stretch the square of fabric over the embroidery hoop. The hoop holds the fabric in place making it easier for your child to push the needle up and down through the fabric creating their design. Thread the needle and tie a knot in the end to prevent it coming through the fabric. Don’t leave your young children alone with the sewing. This is an activity needing adult guidance.
Encourage your child to start with random stitches pushing their needle up through the fabric and pulling it to the knot at the end of their thread. Then they can push the needle back down through the fabric creating a stitch. At this point it doesn’t matter how short or long the stitch is, it’s just about moving the needle and thread up and down through the fabric to create stitches. As your child becomes more confident and competent with their sewing you can draw on a pattern for them to follow, they can sew beads and buttons onto their designs. You can sew two pieces of their sewing art together to create a pillow or small bag. You can frame their sewing as an art piece to put up in your house or gift to a friend or family member. They are developing their pencil grip by holding the needle. They are being creative, and by celebrating their finished pieces you are supporting their independence and building their confidence.
Enjoy!